

Hard Cooler Cooling Tips
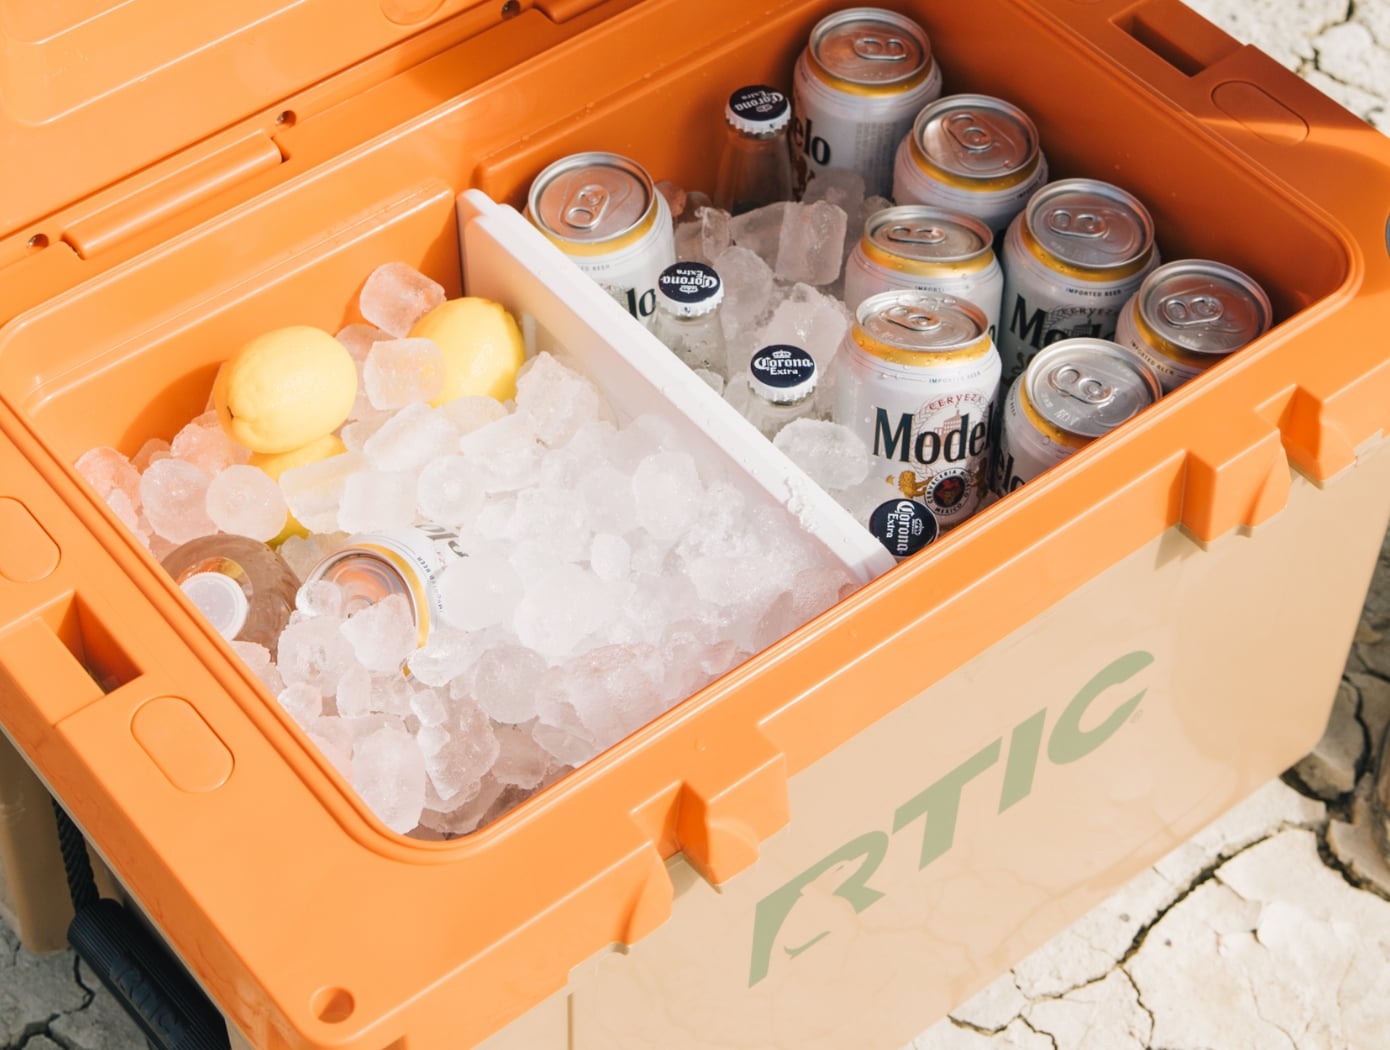
A hard cooler is only as good as how you use it. The right setup before you leave — and a few habits once you’re out — can be the difference between ice that lasts two days and ice that lasts nine.
These tips apply whether you’re heading into a multi-day camping trip, a tournament weekend, or a long day at the beach. The goal is the same: keep things cold longer, open the cooler less, and get the most out of your gear.
RTIC COOLING TIPS
These are the habits that make the biggest difference. Follow them before you pack, while you’re out, and when you get back — and your cooler will perform closer to its rated ice retention every time.
1. PRECHILL YOUR COOLER
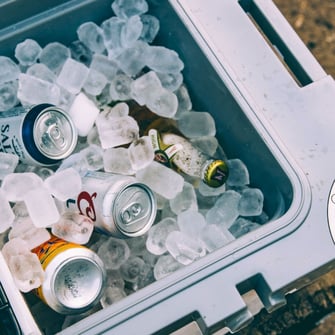
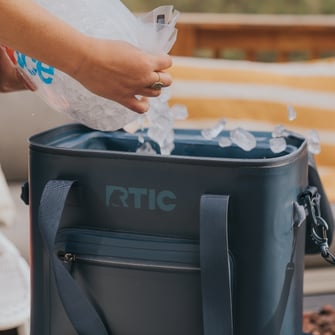
Always prechill your cooler by filling it with ice overnight or, ideally, for a full day. Fill your cooler at least half full of ice, close it, and let the ice work to chill the internal space. Keeping that ice and melt water in there for 24+ hours is key to conditioning your cooler for long term cold performance.
Pro Tip: Depending on the starting temp of the cooler (been sitting in a 98º shed all summer?), you may need to add more ice after only a few hours.
2. PRECHILL YOUR PROVISIONS
Always prechill any food or drinks you plan on putting in your cooler for at least a few hours, ideally overnight. It’s important you don’t compromise the inside temperature of your pre-chilled cooler with warm items. It may seem obvious, but anything you plan on putting inside your cooler should have been in the fridge or freezer for an extended period and be as cold as possible.
3. FOLLOW THE 2:1 RULE
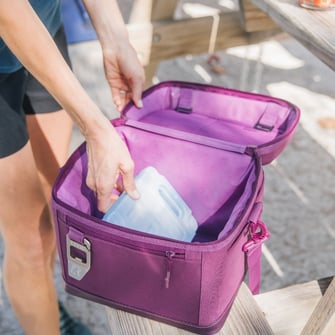
Use twice the amount of ice as pre-chilled food and drinks that you’re packing. The more ice you have, the better it will keep the internal temperature of your cooler low. Remember to choose your ice size and shape wisely. Larger blocks of ice or pre-frozen plastic water bottles will last longer than smaller cubes of ice.
Pro Tip: We like to use a mixture of large blocks of ice and small ice cubes–using these larger blocks to amp up your cooling horsepower, while filling in all the smaller spaces with cubed ice to reduce airflow.
4. LAYER IT UP
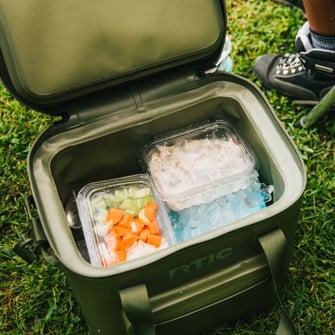
How you pack your cooler can affect its ice retention capabilities. Start with a layer of ice at the base, then add layers of pre chilled food and drinks before topping it off with more ice.
5. LOCK IN THE COLD
Remember to always close the lid quickly after opening, avoid draining the water until necessary, and keep your cooler in a shaded place out of direct sunlight when possible.
Pro Tip: Instead of setting your cooler directly on a hot surface, lay down a towel, mat, or RTIC Anywhere Blanket.
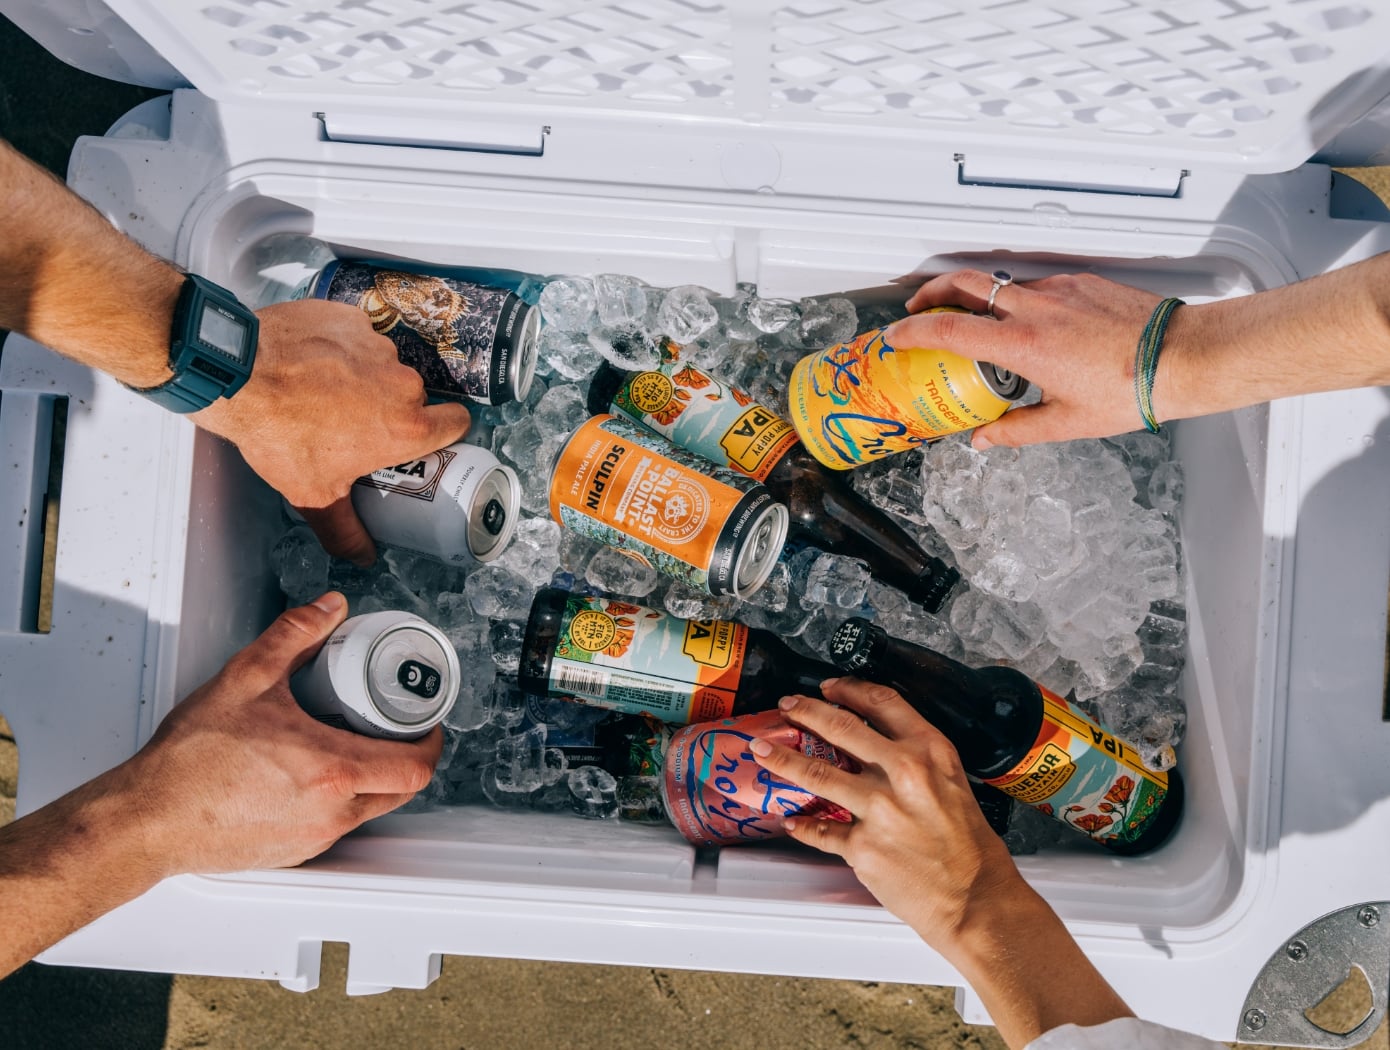
Ice retention is your cooler’s ability to keep cold in and heat out, measured in hours and days. Every RTIC hard cooler goes through industry-standard lab testing to establish a baseline ice retention rating, giving you a consistent, transparent way to compare performance across the lineup and find the right cooler for your needs.
Real-world conditions will always differ from a lab. You’re not hauling only ice, and you’re probably opening the cooler more than once. But the gap between lab results and real-life performance is smaller than most people think — and with the right habits, you can match or even exceed those numbers.
At its core, ice retention comes down to heat management. Part of that is how the cooler is built: premium insulation, silicone t-latches, and a freezer-style gasket all work together to lock cold in. The rest comes down to how you use it.
Dry Ice Tips & Tricks for Hard Coolers
For extended backcountry trips where resupply isn’t an option, dry ice is worth the extra planning. It lasts significantly longer than regular ice and keeps contents frozen rather than just cold. You’ll need to locate a local supplier ahead of time, but the payoff on a multi-day trip is real.
One important note: dry ice freezes anything it contacts—food, beverages, and skin. Always handle it with insulated gloves and never with bare hands.
RTIC Ultra-Tough and Ultra-Light Coolers are compatible with ice, but care should be taken to use it properly. We don’t recommend the use of dry ice with any RTIC Soft Coolers.
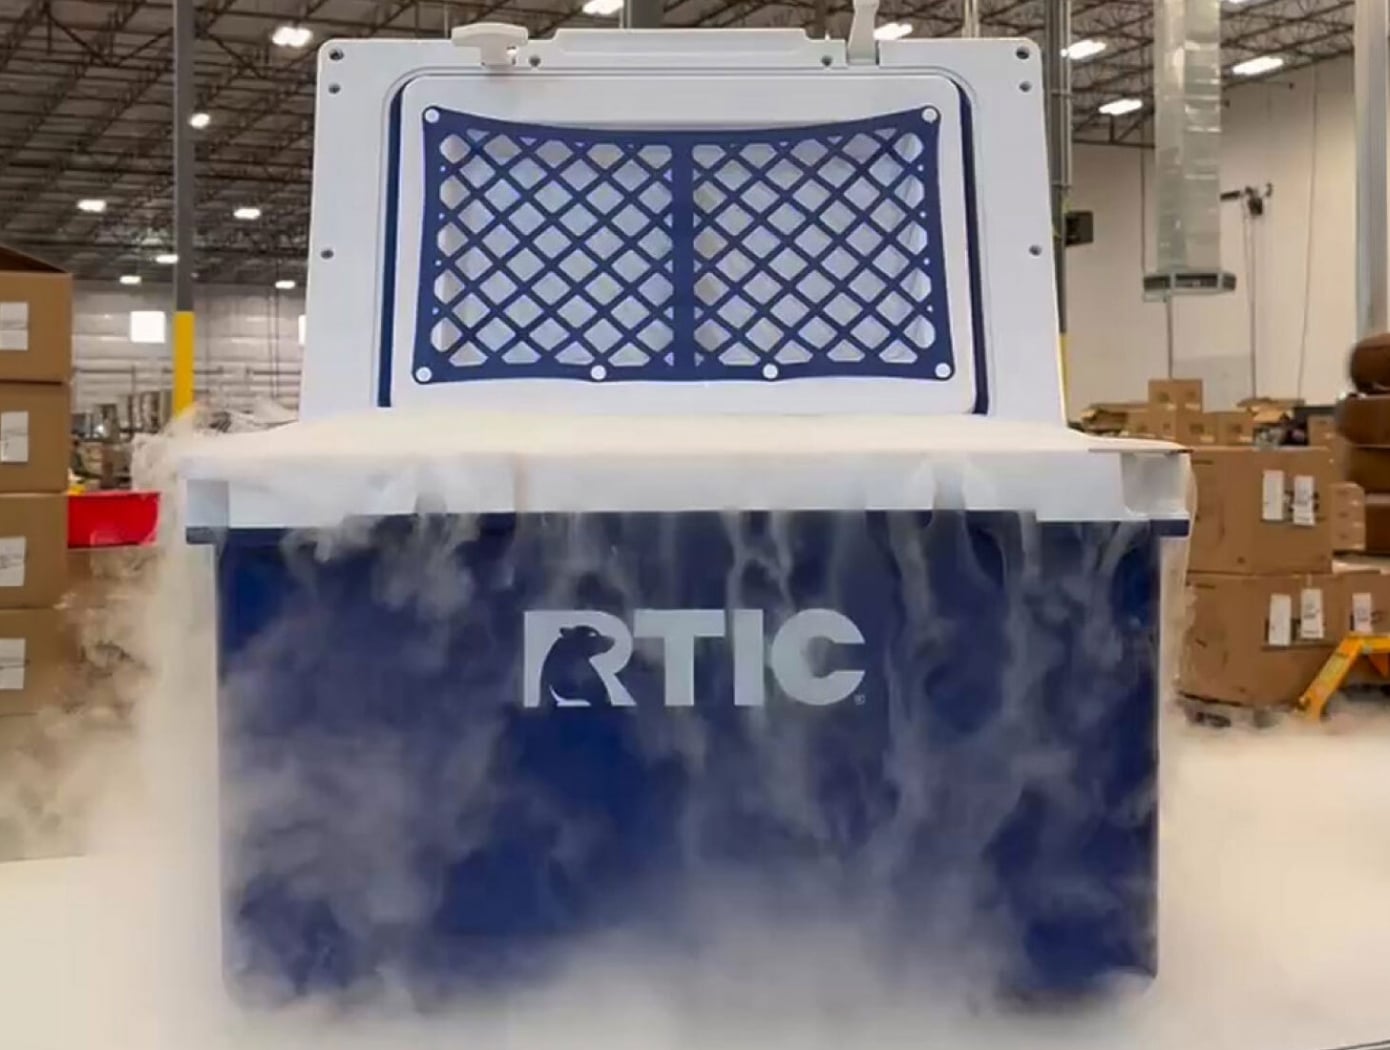
- Protect Yourself: Wear gloves, wrap exposed dry ice with several layers of newspaper and place it on top of a bed of newspaper of cardboard in the bottom of your empty cooler.
- Add Layers: Place a layer of cardboard or additional newspaper on top of the dry ice packages, making a new cooler floor and separating the dry ice from contents. This separation is key as it will freeze anything it touches.
- Load It Up: Add the food and drinks that you will want to use later in the trip at the bottom, working your way up to the top of the cooler for items you may want to access immediately.
- Air It Out: Twist open the cooler’s drain plug just enough to act as a mild pressure relief. Dry ice is “dry” because it turns to gas as it melts, not liquid, so this allows the gas to escape.
- Let The Crew Know: Remember to let everyone in your group know you are using dry ice, so everyone is aware to practice caution.
- Responsible Disposal: There will likely be dry ice left over at the end of your trip – just leave it in the cooler with the lid open until it’s fully evaporated. Please don’t throw it in the woods or into the toilet or sink, as it is a hazard to people, wildlife, and your fixtures.